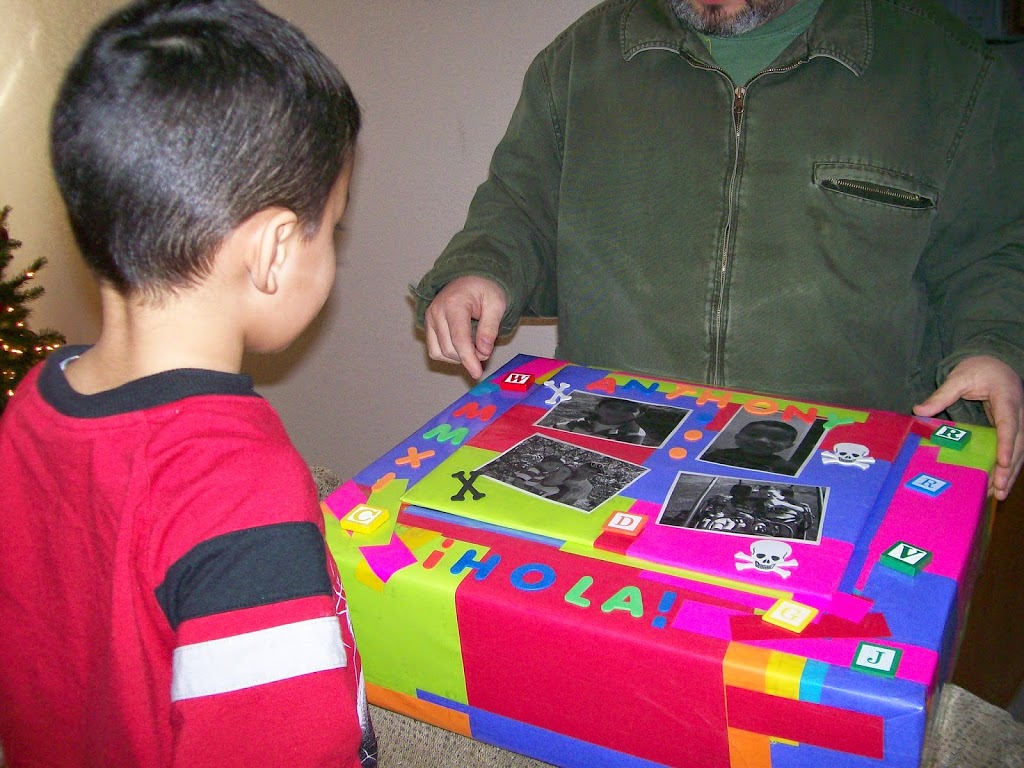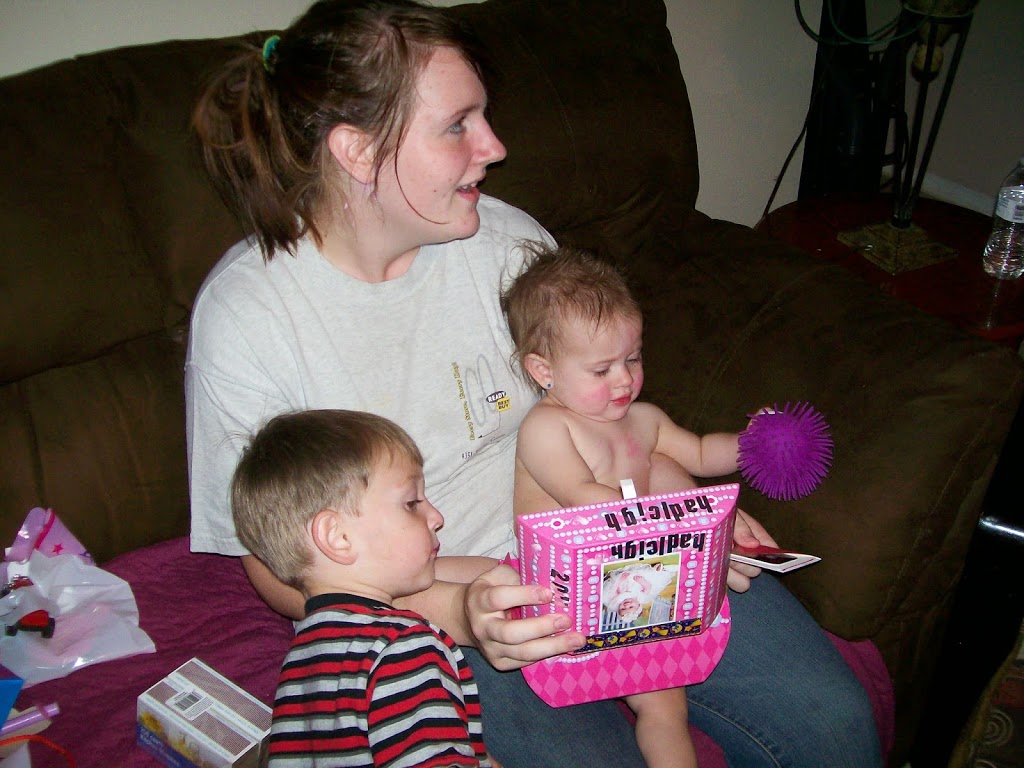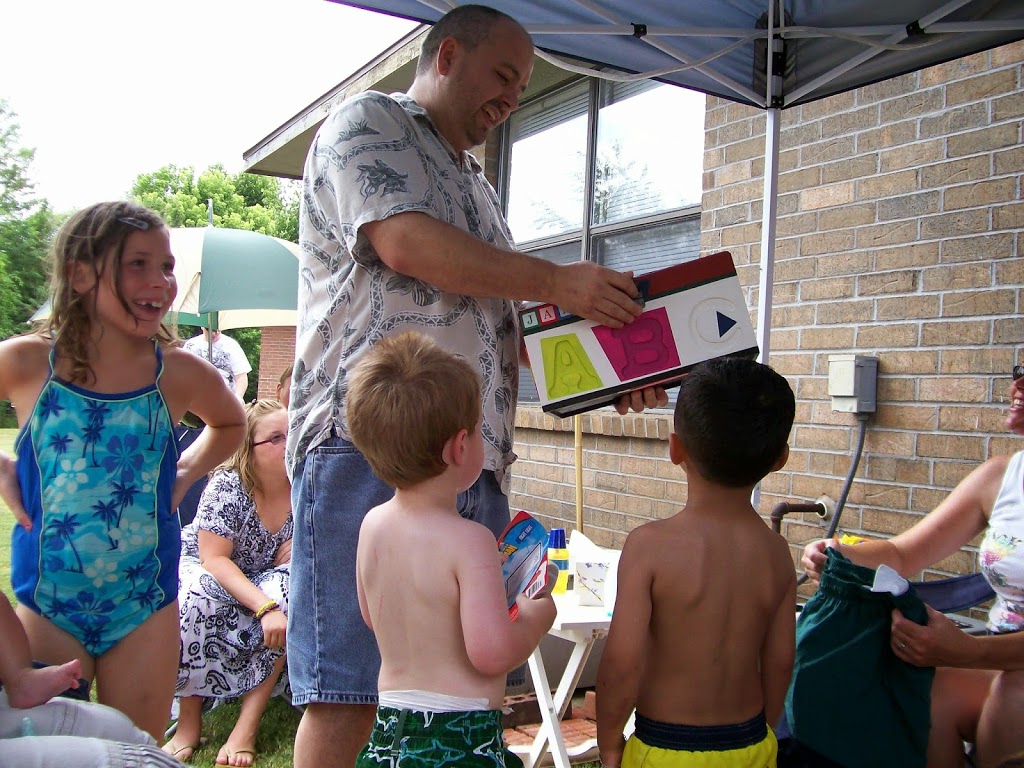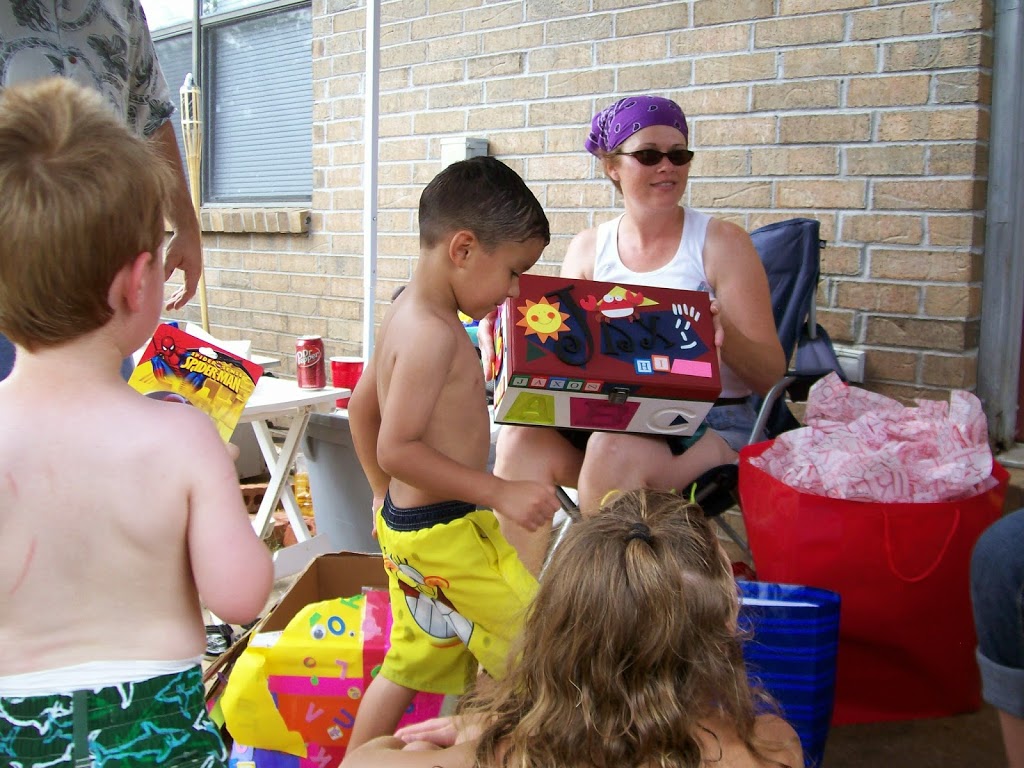
One of the things that I have always enjoyed doing is making hand-crafted boxes for kids. I’m not going to kid you though, no pun intended – some of these take me hours and hours to make. But I’ve never been disappointed in a child’s reaction. Many times it is very rewarding to see the parent’s faces, too, as they well know that the gift is a huge investment of time and thought.
(Sidenote: the entire process can be done with any size box. It can also be done with crates, dressers, tables, anything you can imagine.)
Usually, I buy unadorned wooden boxes from Hobby Lobby, the source of all things interesting. 🙂 You can use almost anything, though, especially if you don’t mind sanding or experimenting. Wal-Mart carries a very limited number and styles of wooden boxes in the craft/office areas in their stores.
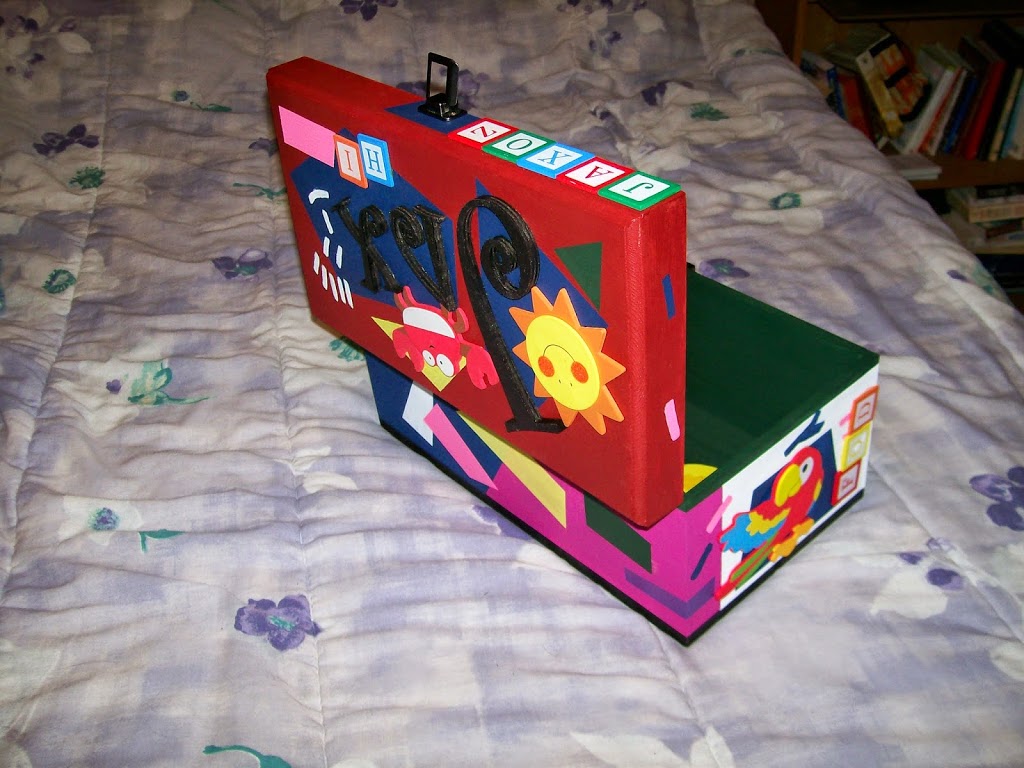
I use tape to section off random portions, layering alternating colors as I hand paint, after removing the hinges and all hardware that might be one the box. Sometimes, I will paint for about 30 minutes each day to allow for the paint to totally dry while at the same time giving me the ability to ensure that the tape doesn’t pull on the paint as I remove it.
The key thing I recommend is to STOP worrying about telling yourself that you aren’t creative or don’t have the ability. I’ve found that many times I’ve learned something new when I make errors, even monumental ones.
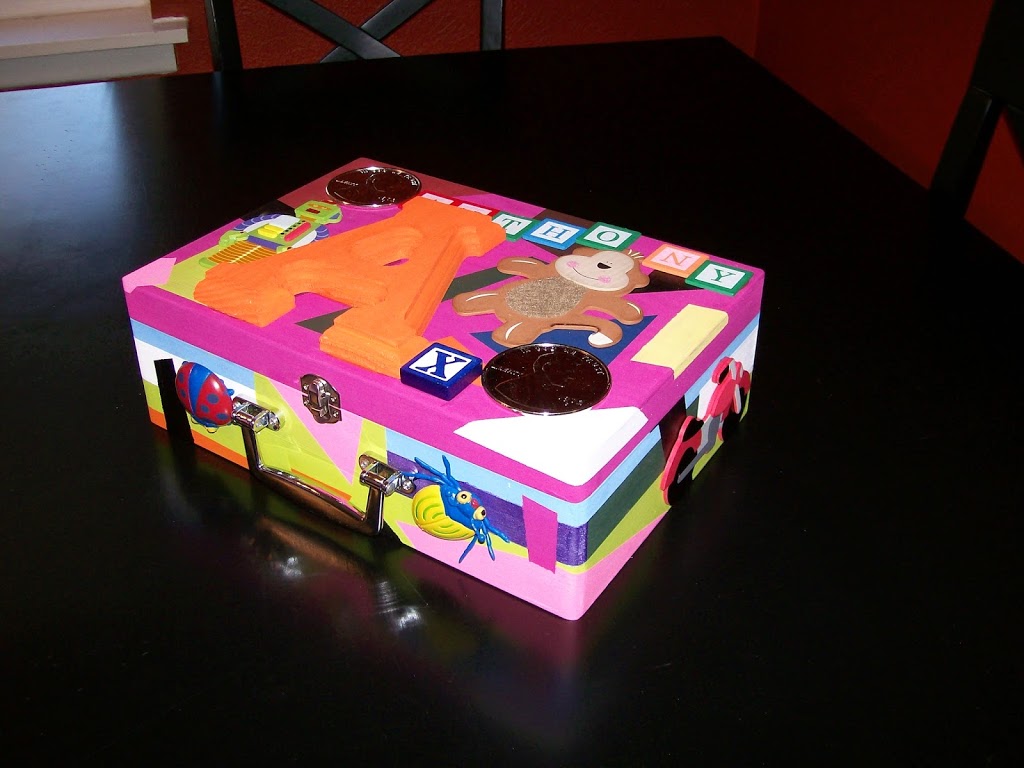
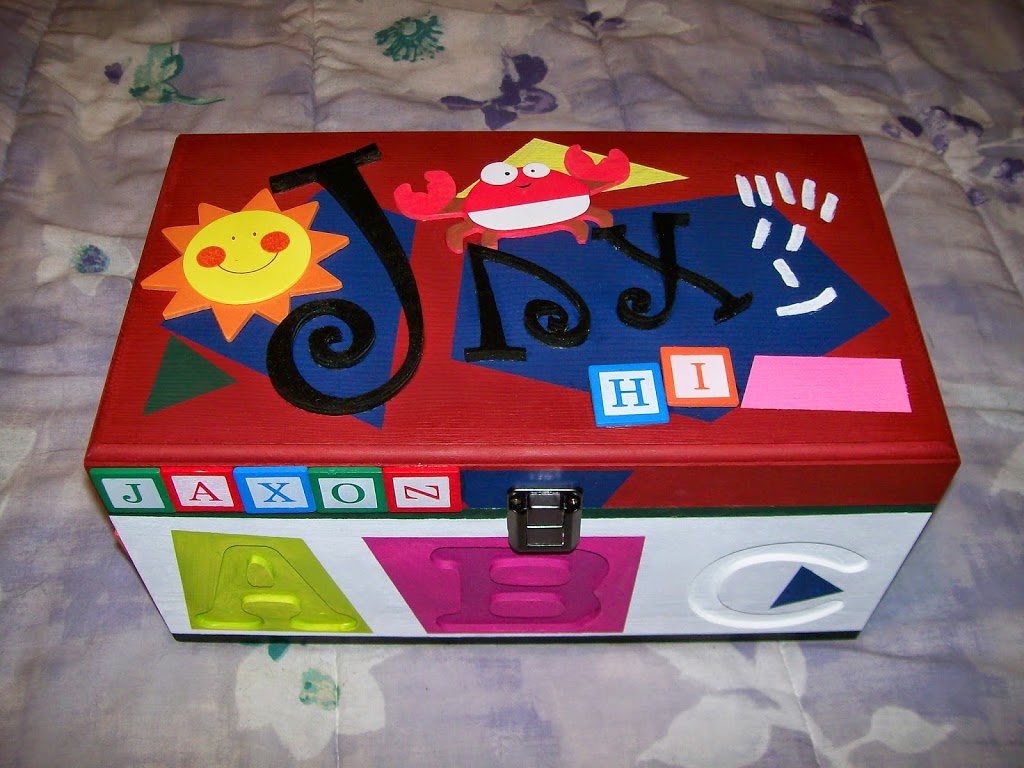
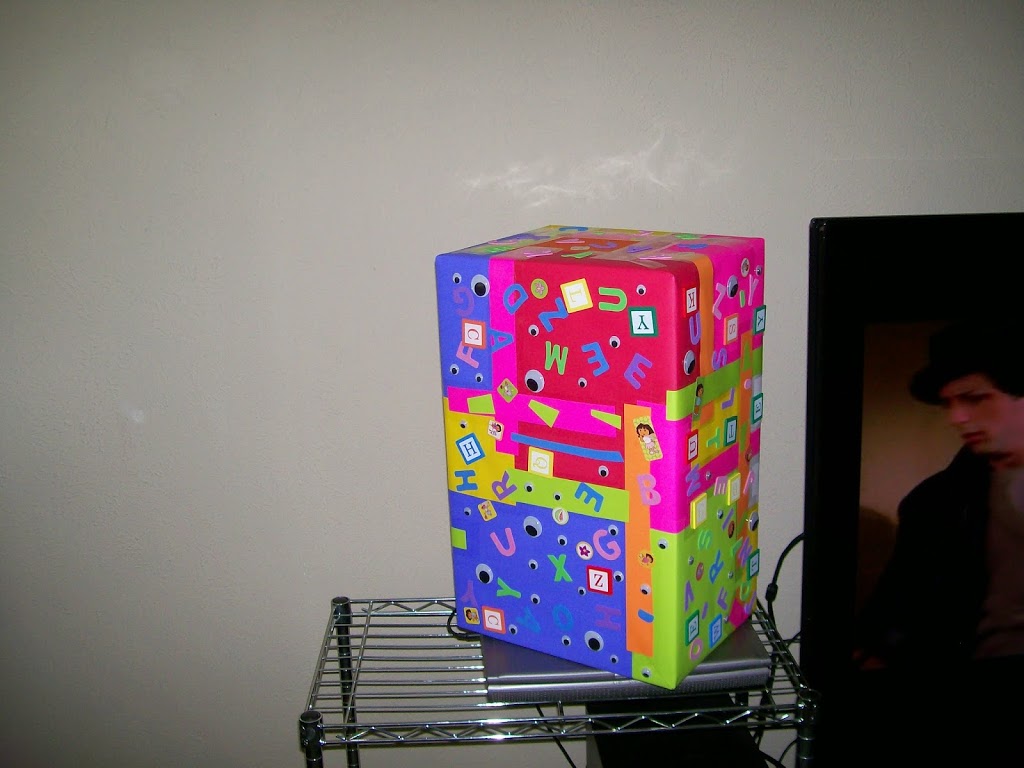
One I’m more or less satisfied with the paint job, I then apply letters, painted characters, googly eyes (those eyes that come in packets and have black and white eyes that roll around inside the circular eyes), coins, colored letters, scrabble pieces, dice, small cars, anything and everything that is colorful or interesting. Some of the best ideas resulted from having a limited supply of interesting things to glue or attach to the box. When using wooden boxes, I can usually find a way to more easily apply some of the craziest objects using a variety of small screws.